Welcome to the home of...

Tailgate Theft Prevention
Gate Keeper®
|
|---|
Gate Keeper® Installation
This tutorial covers the installation of our Gate Keeper® P/N 200450, 200520 and 200745
Tools Required:
Socket set (1/2" drive preferred)
Installation/removal tool (Provided with PN 200745 and 200450)
Time Required to install:
About 10 minutes
Scroll down to see picture tutorial or view the video tutorial (3 min.)
Note: Video is on a Ford truck but the installation procedure is the same for these Chevy and Ram trucks.
PN 200450 Kit includes T50 star bit Chevy/GMC New body style only. Does not fit 99-06 or 2007 classic body trucks. |
PN 200520 T45 star bit not included in this kit Dodge Ram Dodge Ram |
PN 200745 Kit includes T50 star bit Ford F150, 87-03 and the new style 2004 - 2014* Ford Super Duty, 1999- 2016 Ford Ranger, 93- 2012 |
Notice: The Gate Keeper® is NOT a lock and will not protect valuables left in the bed of the truck. The Gate Keeper® is strictly a theft deterrent to help protect your tailgate from theft. Redline Technical Group, Inc. makes no warranties, written or implied, that the Gate Keeper®will protect your vehicle or your personal property from theft or vandalism.
| 1. The tailgate pivots along the bottom edge. On the right side, there is a slot in the female portion of the gate pivot point which allows the gate to be lifted off the truck without any special tools. This is the area that the Gate Keeper® guards. Clean the head of the bolt on the bed of the truck, just above the pivot point. | 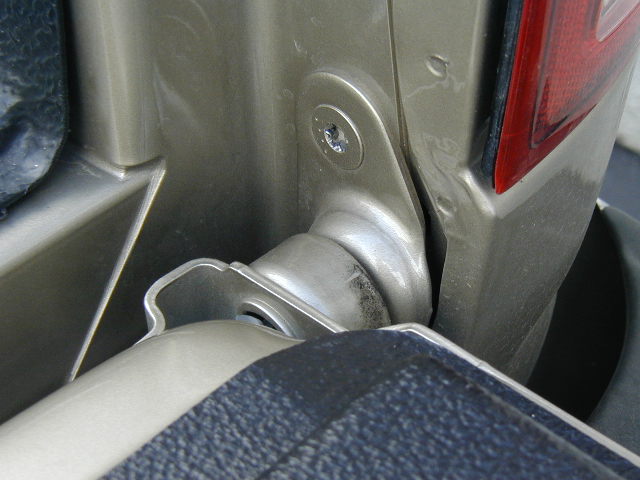 |
|
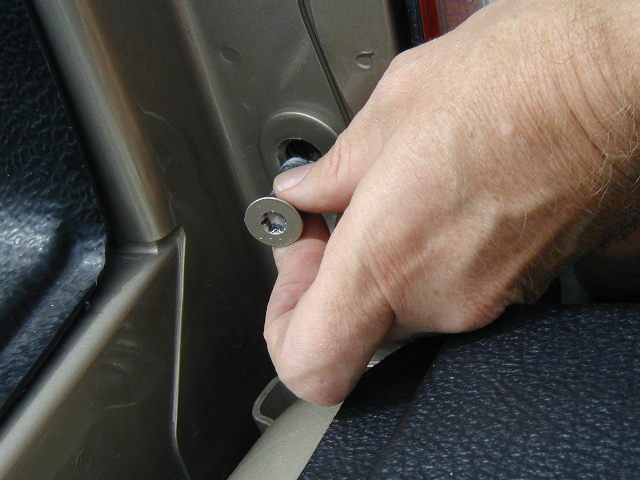
2. It may be helpful to lift the gate off the pivot to allow more room to turn the wrench. (See the next photo down.) To do this, open the gate a few inches and carefully lift the gate off the pivot. It may also be helpful to have another person help hold the gate in place while you work. Next, use a star bit tool to remove the factory bolt from the truck. This bolt is usually very tight and has some thread lock on it from the factory.Clean the bolt threads and hole before continuing. |
 |
| 3. The gate is shown off the pivot point. The hole and bolt have been cleaned and you are ready to put the gate back onto the pivot. | 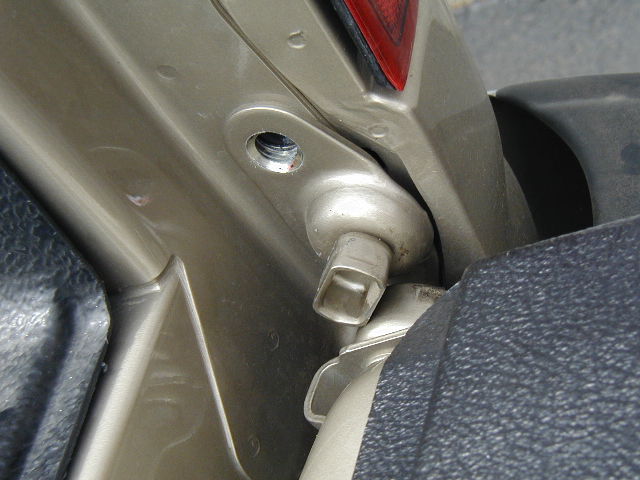 |
| 4. With the tailgate back on the pivot, place the Gate Keeper® over the pivot point and align the mounting hole with the factory bolt hole. The curved end of the Gate Keeper® is away from the cab of the truck, and the right angle bend is toward the cab. If you have some thread lock adhesive, use a drop on the bolt and carefully thread it back into the hole. Be careful not to cross thread the bolt. | 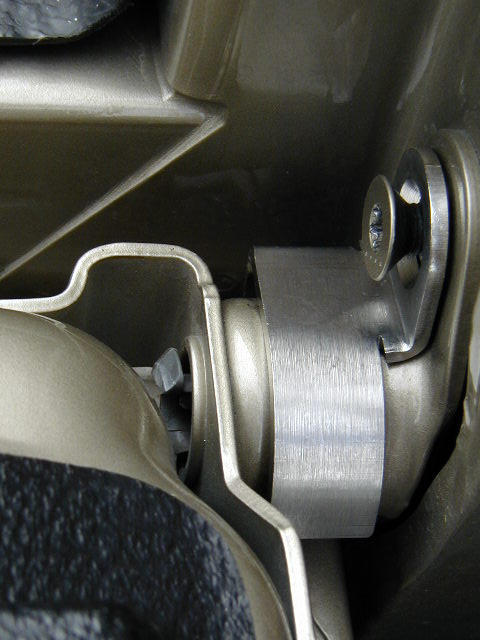 |
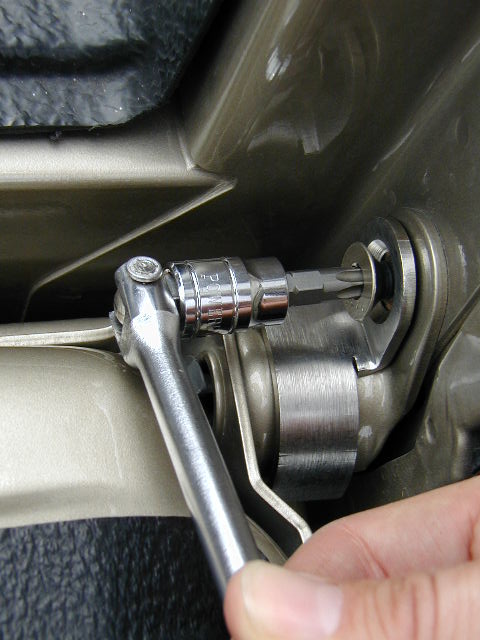
5. Use your socket handle, socket and the star bit tool to tighten the bolt down.
|
 |
|
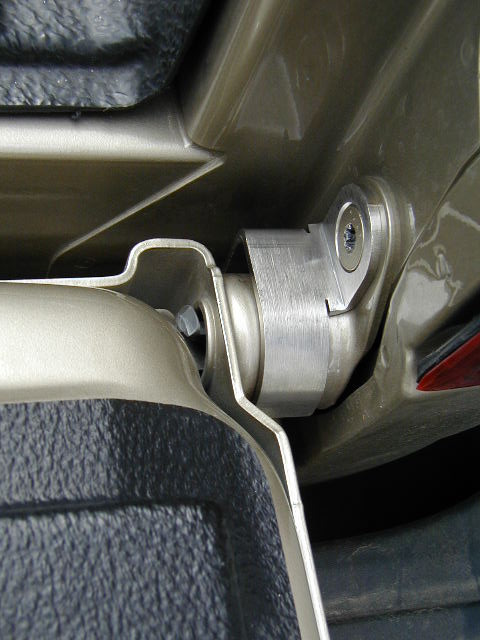
6. Once in place, test the gate up and down to make sure there is no interference. This photo shows the installation completed. Now, put the installation/removal tool somewhere safe in cas you ever need to remove the gate. All done! |
 |
Back to installation tutorial list Ready to buy? See our dealer list or contact us. Questions? Visit our Gate Keeper® FAQs page. |
 All photos, descriptions and images copyright Redline Technical Group, Inc. © |
| Disclaimer: Every effort is made to accurately portray the installation process for each model. However, if you are not certain of your abilities, we recommend having one of our authorized dealers perform the installation for you. |